Schedule Tool
Schedule allows instructors or site organizers to post events in a calendar format. The calendar has day, week, month, year, and simple list views.
The Schedule can be used to post important dates in a class, such as start and end dates, assessment dates, etc.
Project sites may use Schedule to post key dates, such as deadlines.
Schedule View
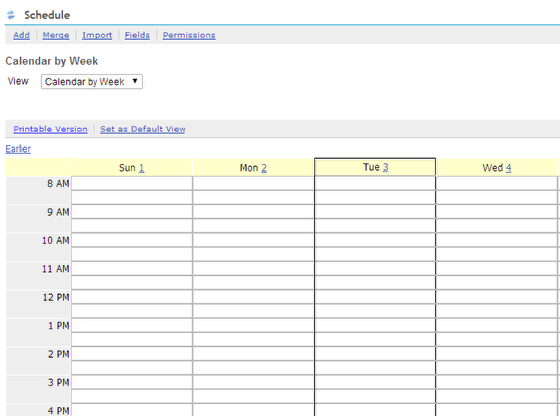
Click Schedule on the left menu.
By default, your calendar will open up to a view of the current week.
Adding items on the schedule
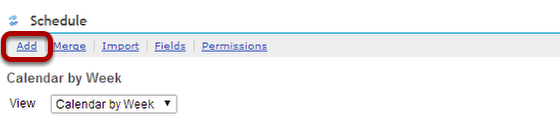
1. Select the Add link on the Schedule page.
An event page shown below will appear.
Adding an Event
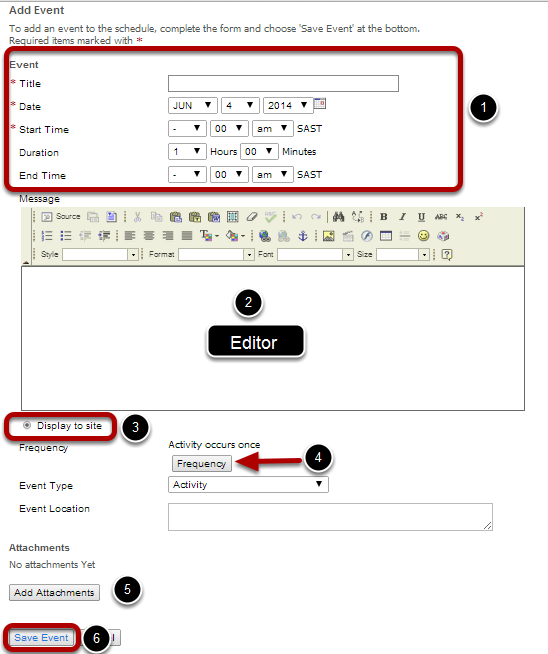
1. Enter the required information for title, date, and start time. Additionally, you can specify a duration or end time.
2. Under "Message", use editor to create and format the body of your item.
Note: Pasting text from Microsoft Word directly into the editor may result in garbled output, even if the text appears correct in the editor. Instead, to insert formatted text from a Word document, click the Paste from Word icon, and paste using Ctrl-v or Command-v.
3. To display the event to all members of the site, check Display to site. To display the event only to members of a certain group, check Display to selected groups, and then use the checkboxes to choose which groups or sections can view the item.
Note: If you don't see the Display to selected groups option, no groups or sections are associated with your site; see Managing groups.
4. If your event will take place more than once, you can set the frequency by clicking Frequency. Then:
Next to "Event Frequency", use the drop-down list to select daily, Mon/Wed/Friday, Tuesday/Thursday, weekly, monthly, or yearly.
Next to "Every:", use the drop-down list to select a value between 1 and 31.
Under "Ends:", use the radio buttons to select when you want your event to stop recurring.
Click Save Frequency.
Note: If you do not choose a frequency, your activity will occur once.
Next to "Event Type", use the drop-down list to choose an appropriate classification for your event.
Next to "Event Location", type a location for your event into the text box.
5. Under "Attachments", you can attach a file from your local computer or from Resources, or specify the URL for a file on the web. For instructions, see Options for adding attachments.
6. To save your event and post it to the schedule, click Save Event. To cancel, click Cancel.